
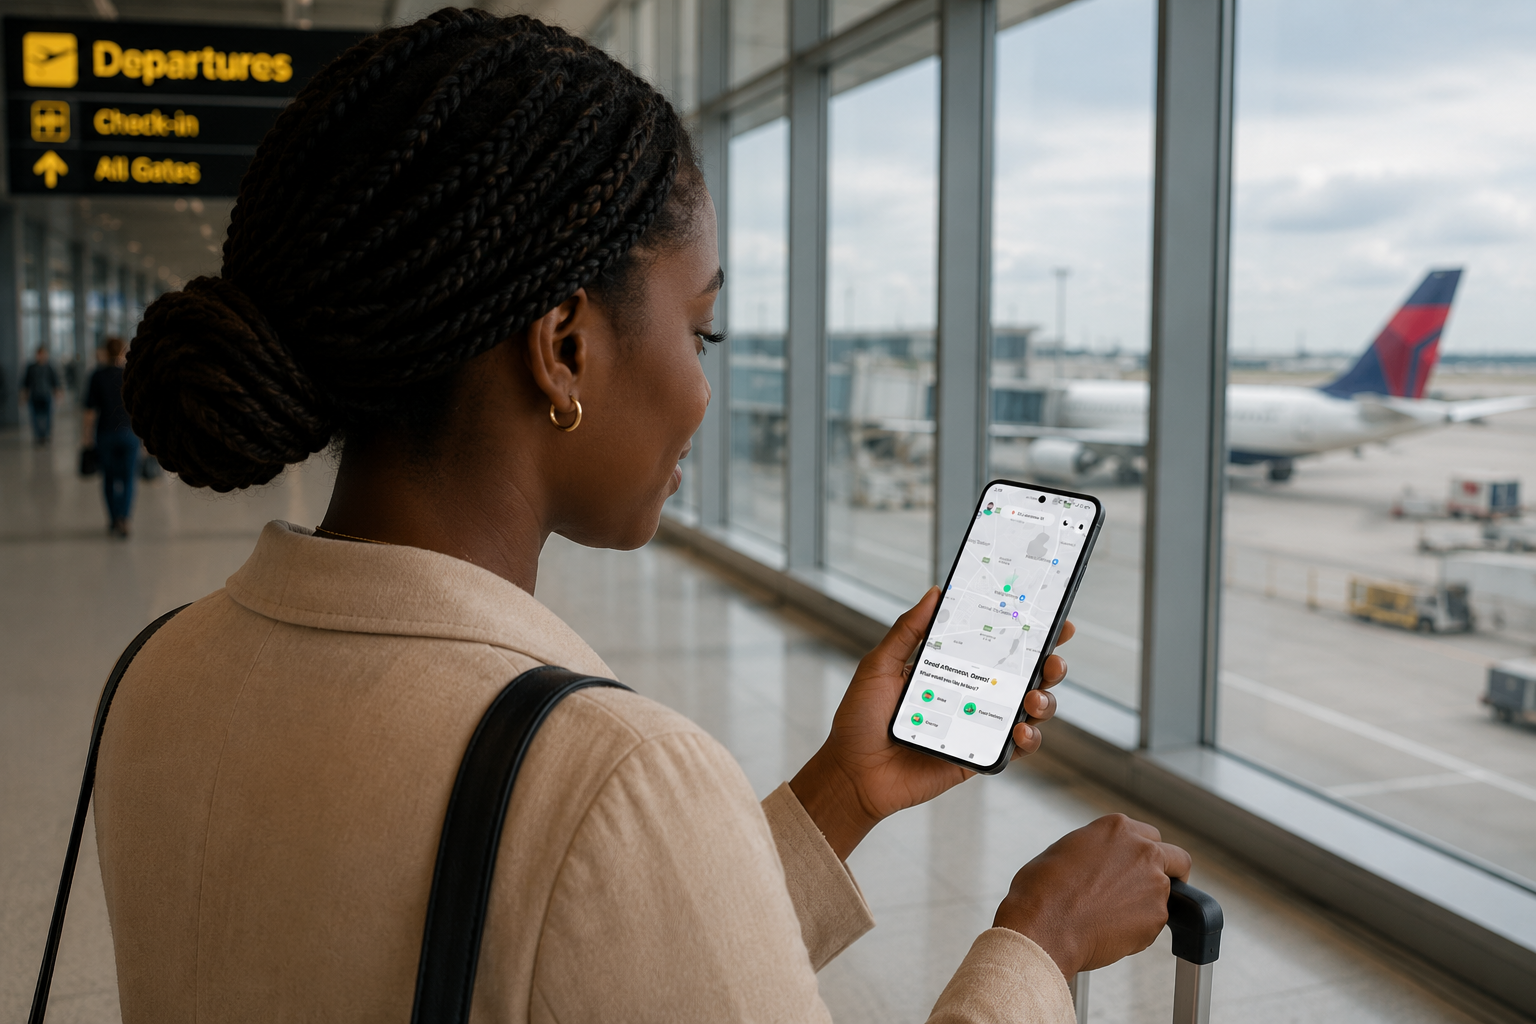
Need a lift across town without juggling five apps? Arrivvi lets you book a ride in a few steps — on the website or in the app — then follow your trip live until you arrive.
This guide walks you through booking a ride on Arrivvi from start to finish.
Before you start
You’ll need:
- An Arrivvi account (sign up or sign in on the site or app)
- A clear pickup point and destination
- A payment method ready: cash, card, or Arrivvi Wallet
Step 1: Open Rides and sign in
Go to Rides on arrivvi.co.za/rides, or open Rides in the Arrivvi app.
If you’re not signed in, you’ll be asked to sign in first. That’s so we can match you with nearby drivers and keep your trip status in one place.
Step 2: Set your pickup
In the Pickup field, start typing your address and choose a suggestion from the list. This gives Arrivvi accurate map coordinates — don’t skip the suggestion.
Already at the pickup spot? Tap Use current location so we pin where you are now.
Step 3: Enter your destination
In Where to?, type your drop-off and select it from the suggestions.
Once pickup and destination are set, Arrivvi estimates distance, travel time, and fare so you can compare options before you request.
Step 4: Choose your ride type
Pick the option that fits your trip:
- Regular — everyday rides at a straightforward fare
- Premium — a more comfortable option when you want the upgrade
Each card shows an estimated fare, duration, and distance so you can decide at a glance.
Step 5: Choose how you’ll pay
Select a payment method:
- Cash — pay your driver at the end of the trip
- Card — pay with your saved card
- Arrivvi Wallet — pay from your Arrivvi balance
Step 6: Add a note (optional)
Need the driver to wait at a complex gate, look for a blue jacket, or use a specific entrance? Add a short note before you request. It helps the pickup go smoother.
Step 7: Request your ride
Tap Request ride. Arrivvi notifies nearby drivers. Matching usually takes under a minute.
Changed your mind while you’re still waiting? You can cancel the request from the same screen.
Step 8: Track your trip live
When a driver accepts, you’ll see trip status updates and who is assigned. Follow the ride on the map until you arrive, then rate your experience when you’re done.
Tip: Save frequent places like home and work in your account so the next booking takes fewer taps.
Quick troubleshooting
- Can’t request? Make sure both pickup and destination were selected from the address suggestions.
- Location not detected? Allow location access in your browser or phone settings, then try “Use current location” again.
- Still searching for drivers? Wait a moment, or cancel and try again if demand is high in your area.
Ready to go?
Book your next trip on Arrivvi Rides — one account, clear fares, and live tracking from pickup to drop-off.